Step-By-Step Apple Loops Install
In this post we'll walk through installing Apple Loops in Garageband; other than the graphics, the process is exactly the same for Logic. You can watch a video of the Garageband drum loops install starting at step 3 here as well.
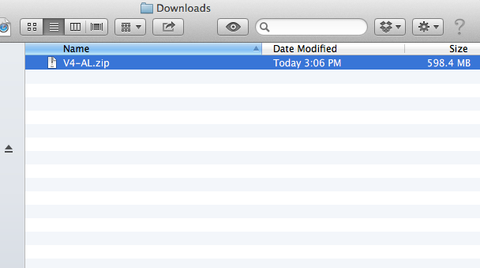
1. If you purchased a download, then locate the .zip file and unzip. There may be several of them depending on the size of your purchase. In this case we are unzipping Vol. 4 Apple Loops (Country N Crossover I).
2. Double click on the .zip file to begin decompression.

3. After the file has unzipped, select several or all of the individual BPM (Song Set) folders. This step must be done correctly as you are going to be installing the BPM folders, not an entire "Volume" folder at once.

4. With Garageband or Logic open, drag the BPM folders you want to install (all of them if you want) onto the Loop Explorer window area.

5. Once you do this you will get the following dialogue box which is asking you whether you want to keep the loops where they are now or if you want to install them into the Library system folder on your Mac. The choice depends on your personal preference and workflow.

6. After the loops are installed click on "Loops" at the top of the Loop Explorer window.

7) You will then see all installed Song Set (BPM) folders. Select any of them to work with one Song Set at a time.

8) Too see the available loops in any one Song Set, then click on "All Drums" and the loops will appear in the explorer window. Start with the project set at the original BPM of the Song Set. In this case the Song Set BPM is 068. And then preview the loops and drag and drop onto the timeline. You can then adjust the tempo of the project up or down a bit.

9) Should you encounter a problem and need to un-install and re-install your Apple Loops, watch this video.